


Growing Microgreens Is a Genius Way to Get Kids Gardening
All kids should experience gardening at some point. I’ll admit I’m a bit biased since I’m a master gardener and the author of a kids’ gardening book. (I also come from a long line of gardeners and had my own farmers’ market veggie stand as a kid.) But this hobby really is a great way to teach kids some great life lessons, like learning where your food comes from or how to care for something on your own. While gardening can be a lengthy or involved process, growing microgreens is not. In just a couple of weeks, you have plants ready to harvest and eat.
Growing microgreens is a project I recommend to anyone asking me about tips for gardening with kids. It’s also a good activity to any foodies out there. Microgreens pack a mighty punch of flavor and nutrition, so it’s easy to keep some sprouts growing any time of the year to add to your favorite recipe or dish. Learn more about growing microgreens and how they can contain up to 40 times more nutrition than more mature plants in this article from our friends at Birds & Blooms. Then grab some seeds and get growing, using the video or the three easy steps below. As always with our projects, kids can complete this 100% on their own!
Step 1: Gather your seeds and supplies.
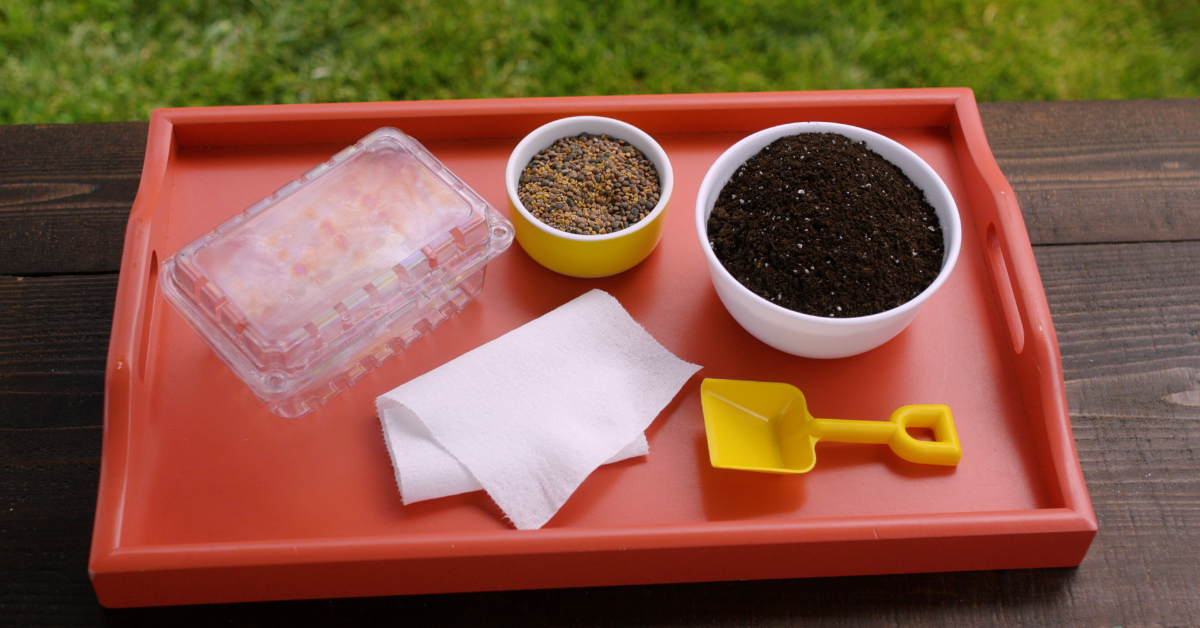
It first helps to understand what a microgreen actually is. Microgreens are essentially seedlings. Instead of letting the seedlings grow into bigger plants, you harvest them when they’re small. This is why they have such a high nutritional value and why you can harvest them so fast. If you have old flower or veggie seeds around, you can use those for growing microgreens. Otherwise, you can find seed mixes at your garden center or even on Amazon. Then you just need a good soil mix and a container. As you can see from the photos, we used old berry containers. You could also use an old pot, container, or even a cardboard box.
Step 2: Plant.
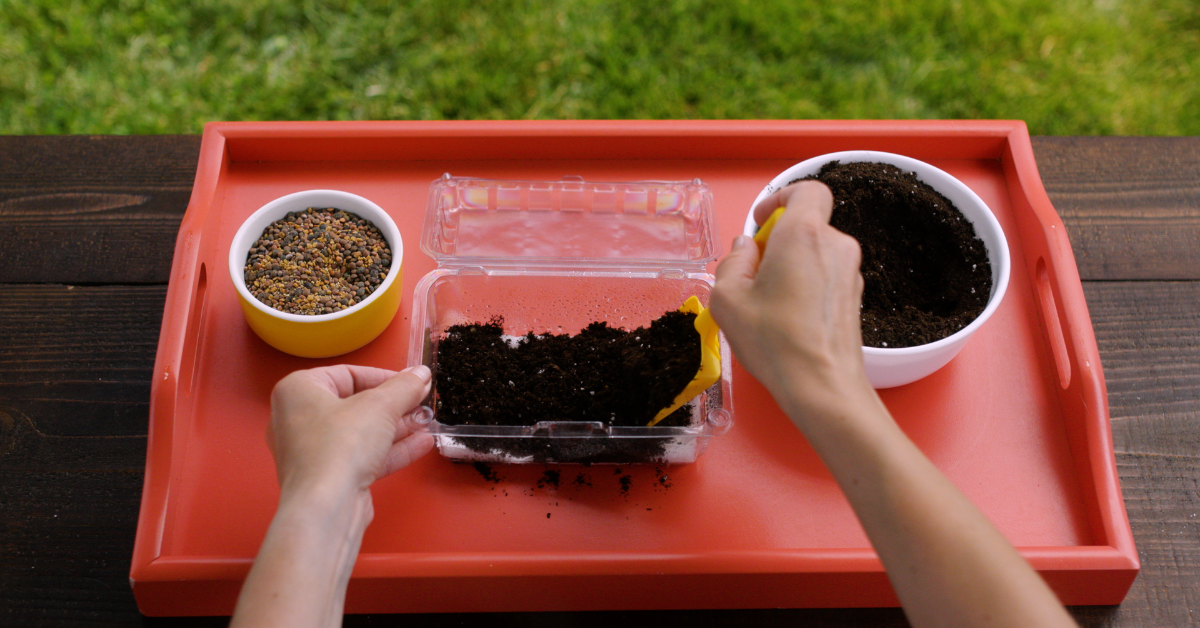
If you need to add drainage to the bottom of your container, go ahead and do that first. You can do a simple layer of pebbles or rocks. Then add your soil, about three-quarters of the way to the top. Next, sprinkle your seeds in a thin layer. Then sprinkle another thin layer of soil on top of that.
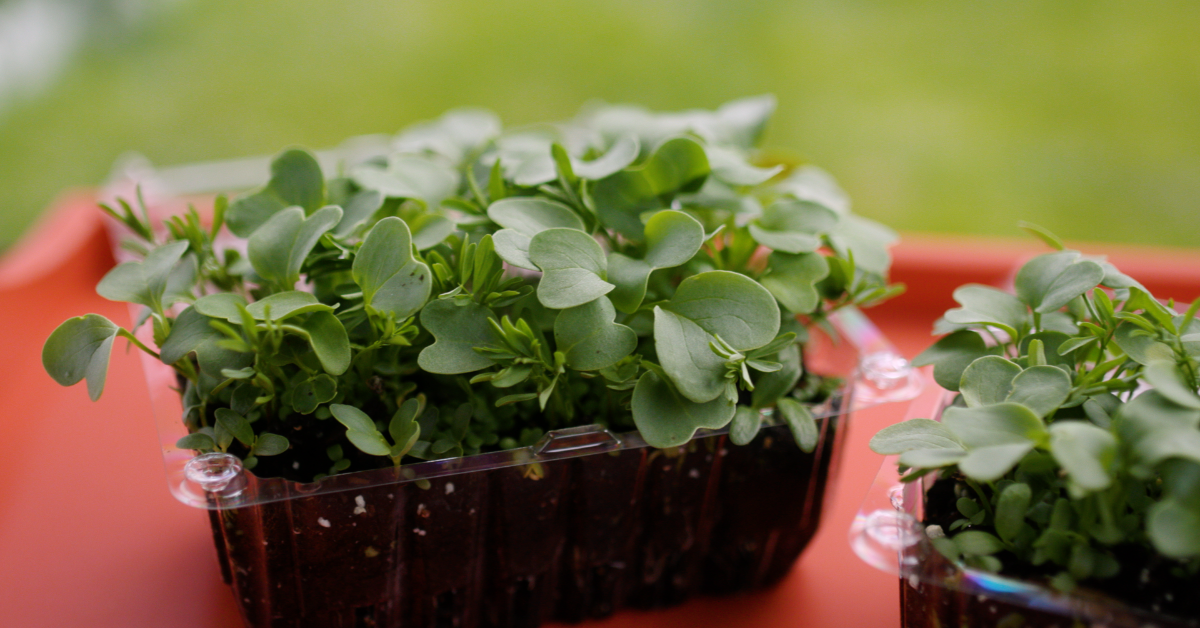
Step 3: Add water and warmth. Then harvest!
As soon as you’re done planting, go ahead and water. You probably don’t need a lot of water, so keep that in mind—don’t overdo it. I like to water using a spray bottle because it helps control how much and it ensures all areas get a good drink. If you used our berry container idea, you can close the lid for a couple of days to create your own greenhouse effect and jump-start your seeds. Otherwise, put your container in a sunny location, outside or inside, and wait. You’ll want to keep up on watering habits, every other day would work fine. And then the only other tip is to keep your container away from drafty or cold areas. Otherwise, the seeds won’t grow as well.
When you harvest your microgreens is really up to you. You can harvest right away or wait for them to get a few inches taller. They are great for putting on a sandwich, in a salad, in a soup, or for adding flavor to any other dish. From start to finish, you’ll be able to say you grew your own food in just a couple of weeks!


Comments are not active.