


Learn How to Make Beeswax Food Wraps
Want to know how to make beeswax food wraps? It’s easy! You really only need a few supplies, and then you’ll be well on your way to having a plastic-free food-storage solution.
Supplies
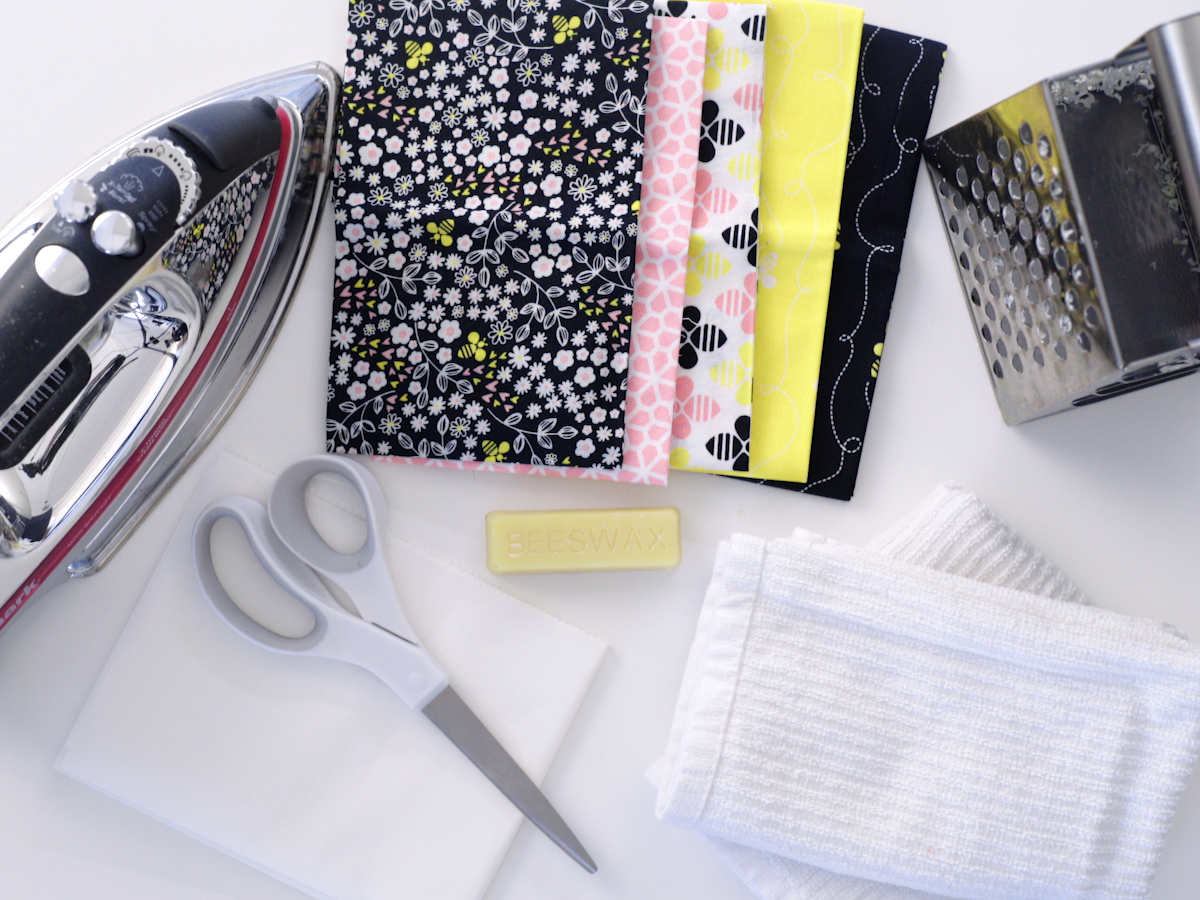
- Squares of fabric
- Beeswax bars
- Kitchen grater
- Iron
- Parchment paper
- Kitchen towels
- Scissors
Step 1: Cut your squares.

Any cotton fabric will work. This is a great way to use up scraps of fabric, or you can create some fun designs by looking for unique patterns. All you need to do is decide how big you want to make your squares and then cut the fabric to size. Think about the size of the food you’ll be wrapping. For whole sandwiches, you’ll definitely need bigger squares.
Step 2: Grate some wax.
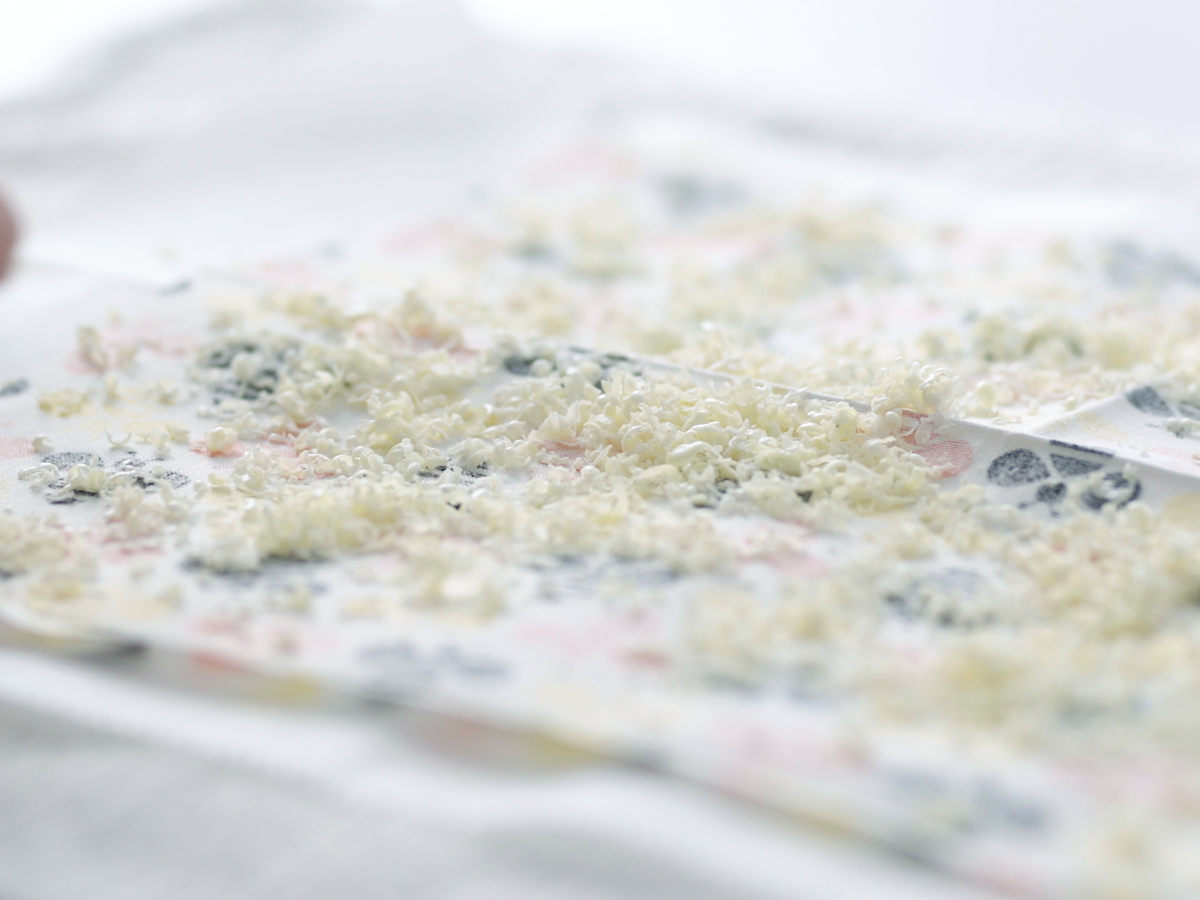
You can buy wax already in pellets as one option. Otherwise, you’ll want to grate your wax into smaller pieces, using a standard kitchen grater. Don’t skimp on the wax. You’ll want to have plenty in order to get good coverage on your fabric.
Step 3: Cover your fabric and iron.
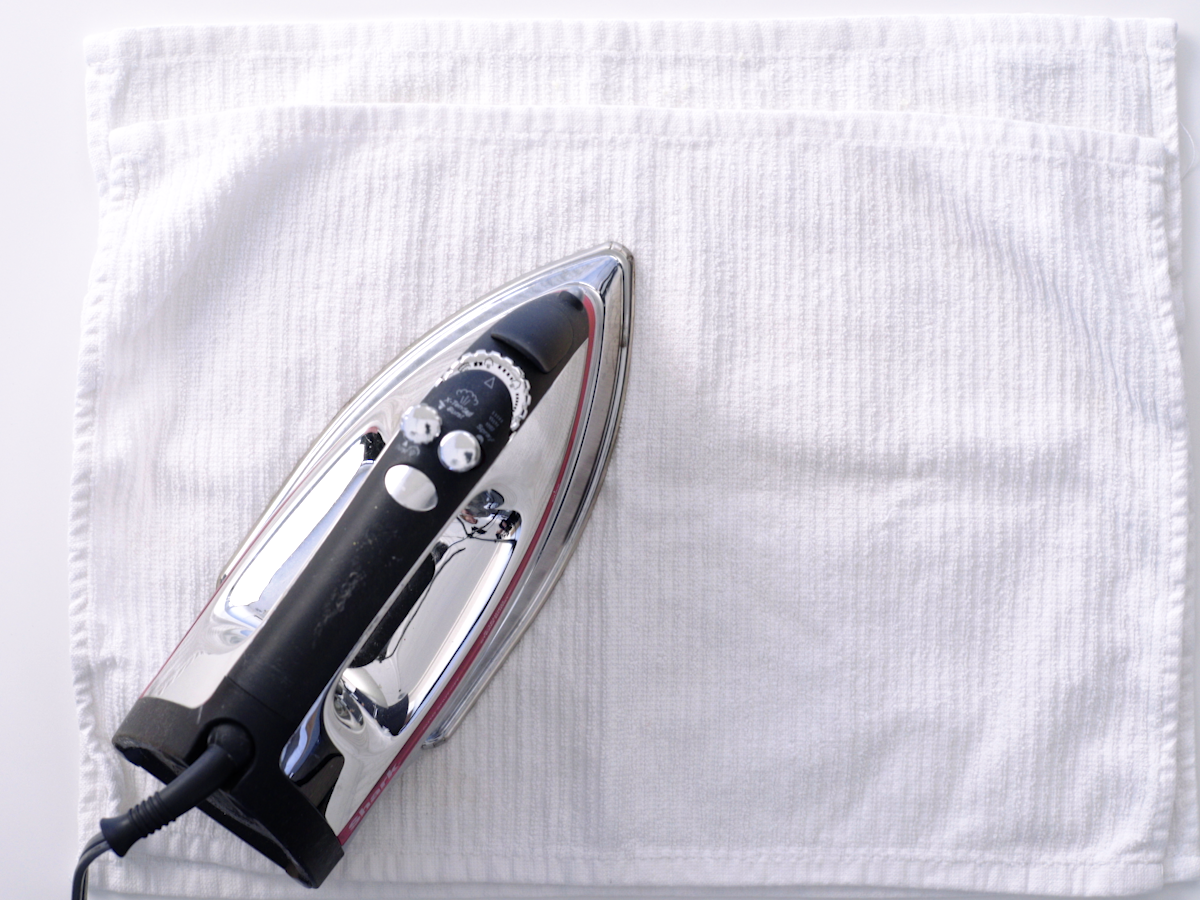
Sprinkle wax pieces all around your fabric squares. Then prepare to iron. For this, we recommend putting down a single towel first to protect your work surface. Then layer a piece of parchment paper, your fabric with the wax pieces, another piece of parchment paper, and then another towel. Time to iron! Set your iron to its medium setting and iron over the fabric evenly and thoroughly.
Step 4: Cool, test, and repeat as needed.
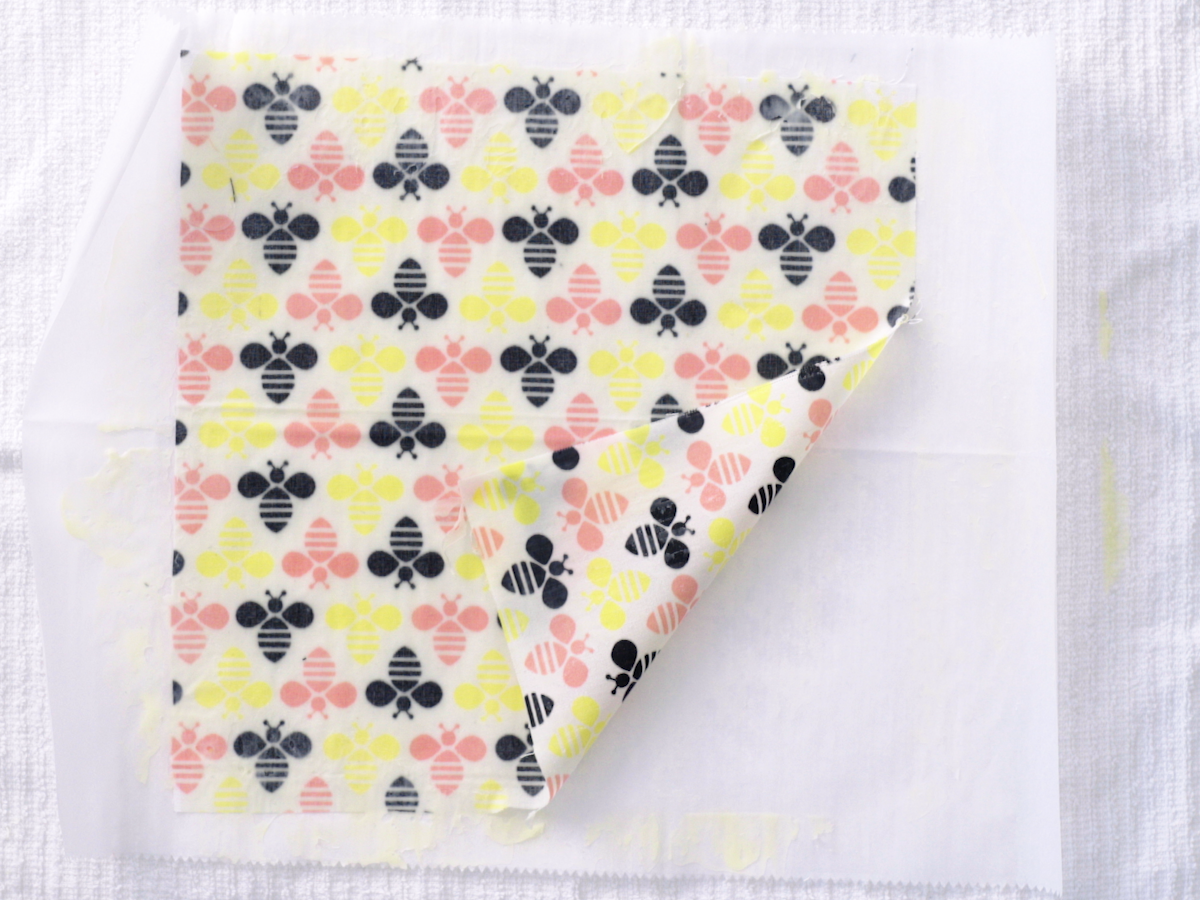
Once your fabric cools, check it. Did all the wax melt? Does it seem like you have good coverage across the fabric? If not, add some more wax and keep ironing. Once you have good coverage and the fabric cools, your beeswax wraps will be ready to use. Simply wrap your food carefully. With each fold, press to create a natural seal with the wax. Yep, you really shouldn’t need string or anything to hold it all together. The wax should be enough on its own. To clean the wrap, just wipe it with a damp sponge or cloth. (You can use a gentle soap, if needed.) Then set it out to air dry.
Now you know how to make beeswax wraps. Just think of how much plastic you’re going to save! See our video for this project below. Plus, be sure to check out another recent project, this mug cake recipe.
If you decide make these, please share with us on social media, including our Facebook page, Instagram, and Twitter. We’d love to see what you did with it! Also, if you’d like to have your child’s DIY idea featured in an upcoming video, email us: Editor@LetGrow.org.


Comments are not active.